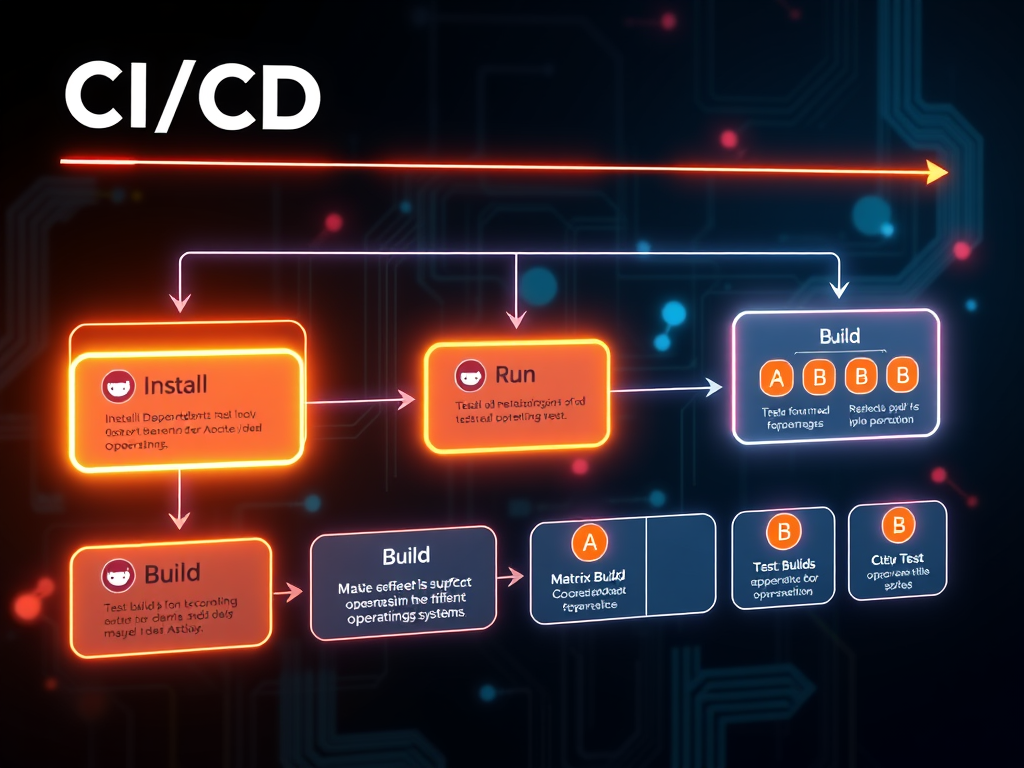
Practical CI/CD Demo Using AWS EC2 and GitHub Actions
Why Self-Hosted Runners?
GitHub-hosted runners are great, but they have limitations:
- Limited execution time
- No persistent environment
- Not ideal for heavy builds
- Restricted system access
Self-hosted runners solve this by allowing you to:
- Run workflows on your own infrastructure
- Use custom tools & configurations
- Reduce CI costs
- Deploy directly to servers
In this guide, we’ll set up a self-hosted GitHub Actions runner on AWS EC2 and run a real workflow.
What We’ll Build
Architecture Flow:
Developer Push → GitHub Repo
                ↓
        GitHub Actions Workflow
                ↓
        Self-Hosted Runner (EC2)
                ↓
        Job Execution
Prerequisites
Before starting, make sure you have:
- GitHub account
- GitHub repository
- AWS account
- Basic Linux knowledge
- SSH key pair
Step 1: Create an EC2 Instance
- Go to AWS EC2 → Launch Instance
- Choose:
- AMI: Ubuntu 22.04 LTS
- Instance type: t2.micro (free tier)
- Create or select a key pair
- Allow inbound traffic:
- SSH (port 22) from your IP
- Launch the instance
Step 2: Connect to EC2
ssh -i your-key.pem ubuntu@<EC2_PUBLIC_IP>
Update the system:
sudo apt update && sudo apt upgrade -y
Step 3: Create a Runner User (Best Practice)
sudo adduser github-runner
sudo usermod -aG sudo github-runner
su - github-runner
Step 4: Get Runner Configuration from GitHub
- Go to your GitHub repo
- Navigate to:
Settings → Actions → Runners → New self-hosted runner - Choose:
- OS: Linux
- Architecture: x64
GitHub will show commands similar to:
mkdir actions-runner && cd actions-runner
curl -o actions-runner-linux-x64.tar.gz -L https://github.com/actions/runner/releases/download/v2.xxx/actions-runner-linux-x64.tar.gz
tar xzf actions-runner-linux-x64.tar.gz
Step 5: Configure the Runner
Run the configuration command (provided by GitHub):
./config.sh --url https://github.com/<username>/<repo> --token <TOKEN>
When prompted:
- Runner name: ec2-runner
- Labels: self-hosted,ec2,linux
- Work folder: default
Step 6: Start the Runner
./run.sh
Your runner is now online! Check:
- Go to:
Repo → Settings → Actions → Runners - You should see:
- ec2-runner (Idle)
Step 7: Run Runner as a Service (Important)
To keep the runner alive after logout:
sudo ./svc.sh install
sudo ./svc.sh start
Verify status:
sudo ./svc.sh status
Step 8: Create a GitHub Actions Workflow
In your repo, create:
.github/workflows/self-hosted.yml
Example Workflow:
name: Self-Hosted Runner Demo

on:
  push:
    branches: ["main"]

jobs:
  run-on-ec2:
    runs-on: [self-hosted, ec2, linux]

    steps:
      - name: Checkout code
        uses: actions/checkout@v4

      - name: Show system info
        run: |
          hostname
          whoami
          uname -a

      - name: Test command
        run: echo "Running on EC2 self-hosted runner 🥳"
Step 9: Push Code and Observe
git add .
git commit -m "Add self-hosted runner workflow"
git push origin main
Go to:
GitHub → Actions
You’ll see the job running on your EC2 instance.
Real-World Use Cases
Self-hosted runners are commonly used for:
- Docker image builds
- Private VPC deployments
- Terraform infrastructure changes
- Kubernetes cluster access
- Heavy CI workloads
Security Best Practices
- Do not expose EC2 publicly
- Use IAM roles instead of secrets
- Rotate runner tokens if compromised
- Stop EC2 when not in use
- Use separate runners per environment
Cost Optimization Tips
- Use spot instances for CI
- Schedule EC2 start/stop
- Auto-scale runners (advanced)
- Terminate runners after jobs (ephemeral runners)
Common Issues & Fixes
- Runner Offline?
sudo ./svc.sh status - Permission errors?
sudo chown -R github-runner:github-runner actions-runner - Workflow not picking runner?
- Check labels match runs-on
- Ensure runner is Idle
What’s Next?
In upcoming posts, we’ll cover:
- Auto-scaling self-hosted runners
- Docker-based runners
- Ephemeral GitHub runners
- AWS IAM + GitHub Actions integration
Final Thoughts
Self-hosted runners unlock real DevOps power. If you’re building production-grade CI/CD, this setup is a must-have.
👩💻 Follow CIAlchemy for practical GitHub Actions and CI/CD guides.
🔧 Turning code into production gold.